

Photography How-To’s - How to Edit Your Dreamy Waterfall Images with your iPhone
Now that you have captured your dreamy waterfall image, here’s how you can edit it with your iPhone!

Open your image in Photos. At the top right hand corner, you will see “Edit”. Click on that!
Now, you will have all kinds of options to edit your image! From auto edit to complete manual and creative control on how you want your image to look like! Follow along for my settings (play around with all the settings and watch how your image changes!) Remember, you don’t have to use all the adjustments all the time. Sometimes an image just needs a bit of contrast, or a bit of vibrance, or just an exposure boost. YOU are the artist, this is YOUR image, make this image what YOU want it to look like!

Auto is a great place to start if you are not sure how to edit your image. Once you click on Auto, touch each button to tweak each setting. There is no right or wrong setting here, just create a look that you like! Remember, every step is a building block to the final look of your image!
Adjust the Exposure…how bright or dark do you want your image to be

Brilliance…this sort of dulls or pops the tones. Experiment with this slider!

Highlights…how bright or toned down do you want the bright parts of the image to be

Shadows…how much detail, or none, do you want see in the shadow parts of the image

Contrast…gives an image “punch”. Adjust to your liking!

Brightness…gives an image an overall brightness, or takes some away. (Almost the same as exposure, but now you are enhancing the edits you have made so far!)

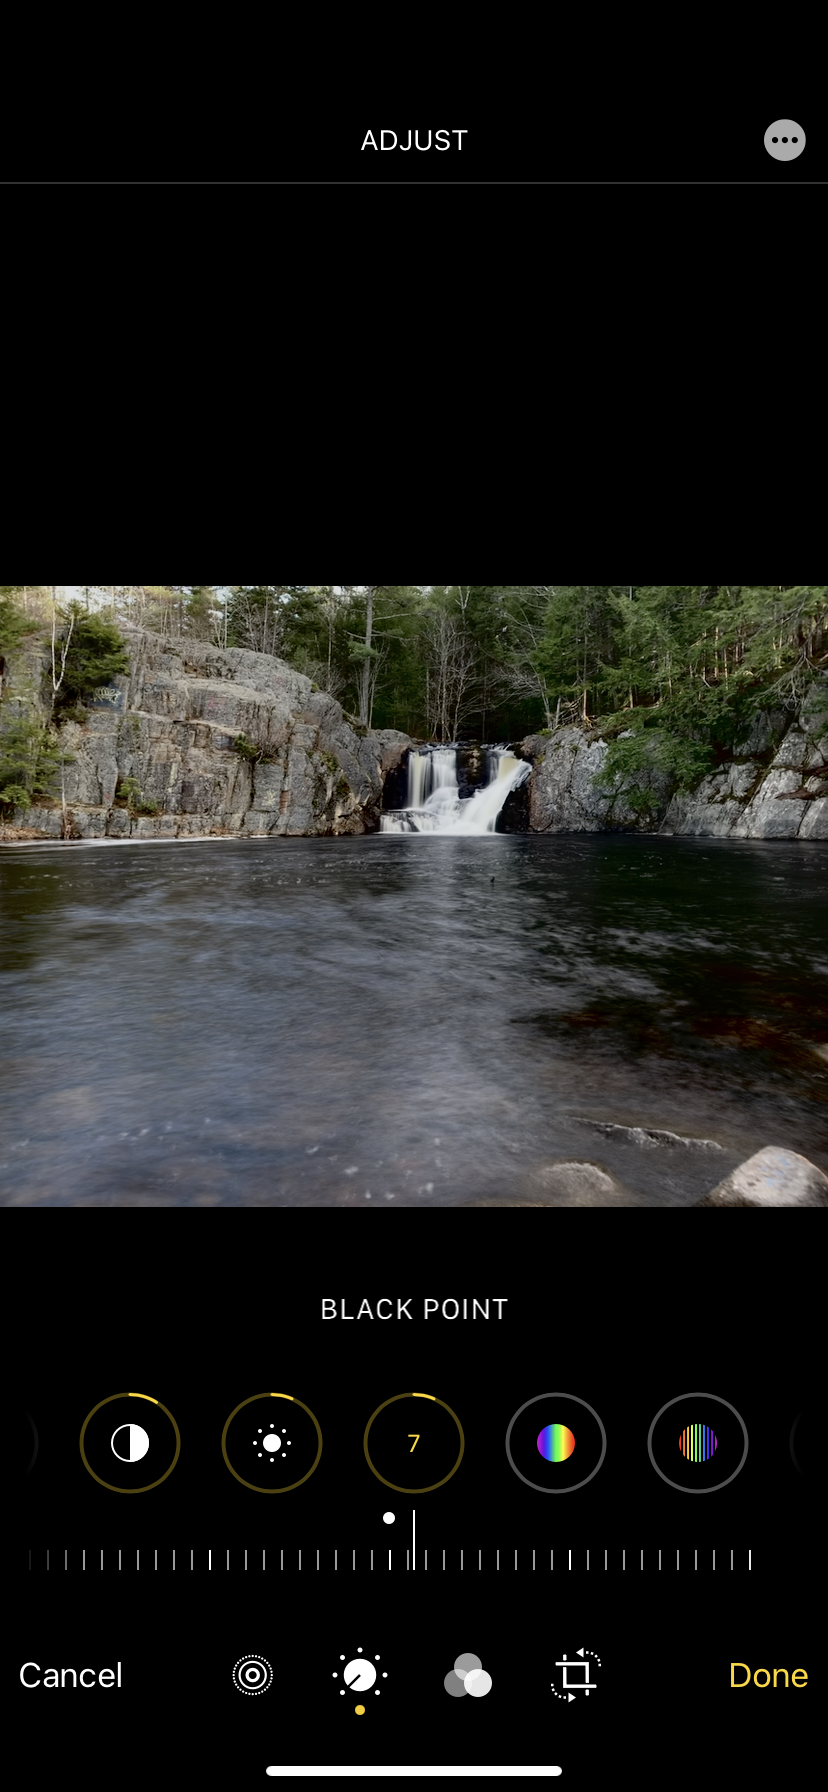
Black Point…adjust the blackest parts of your image. You can make the dark parts darker or lighter
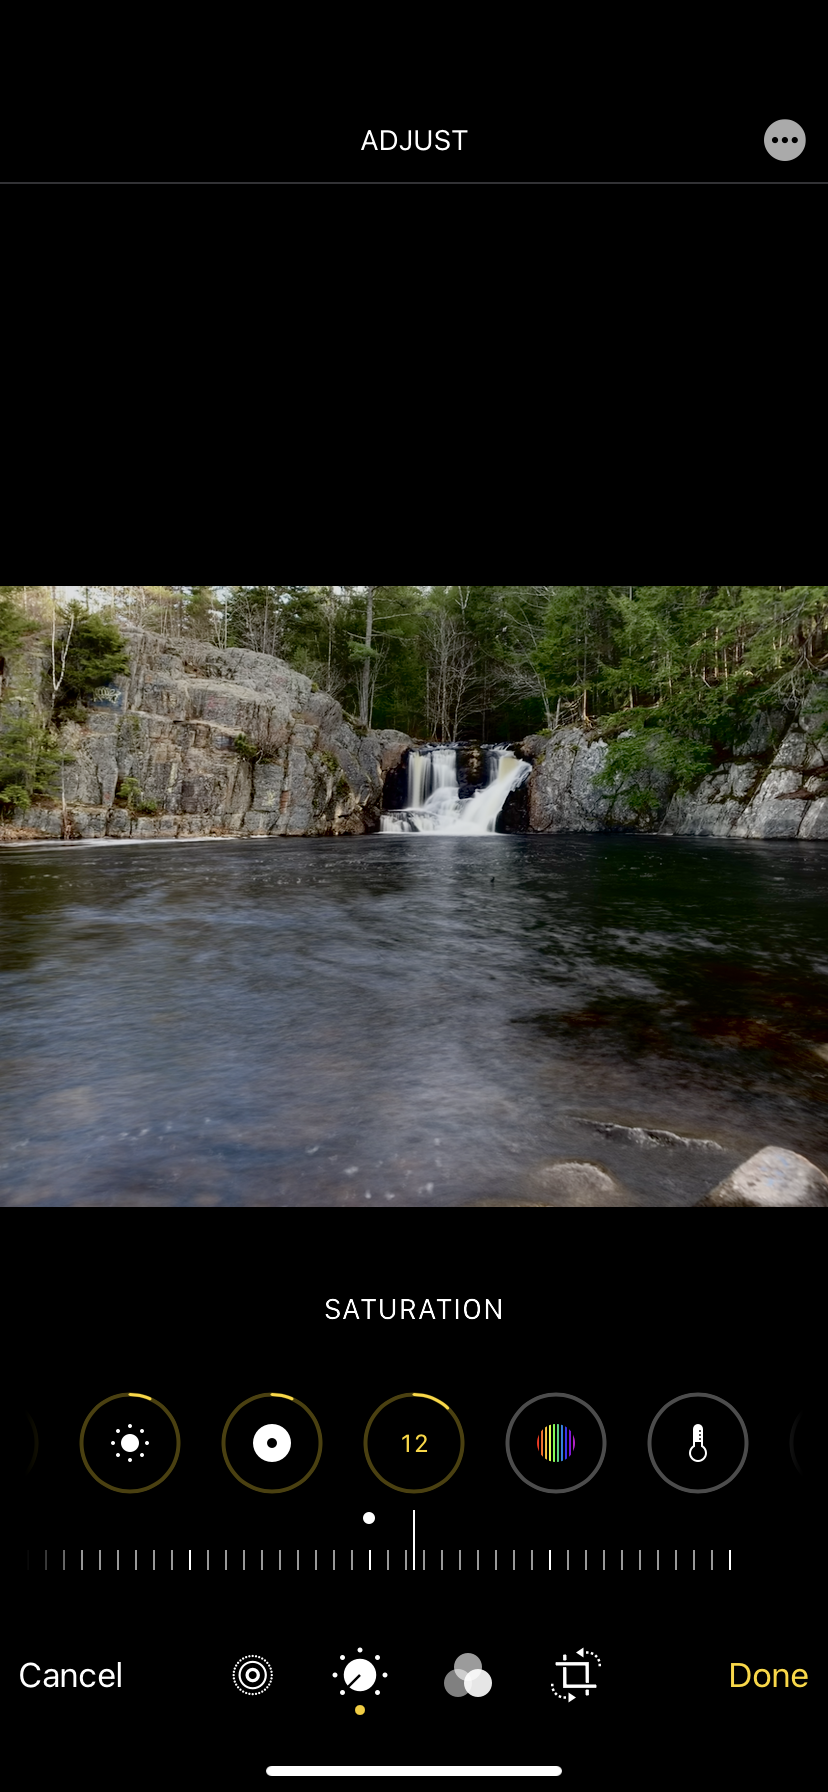
Saturation…this is where it starts getting fun. Adjust the colors of your image. How colorful do you want your image vs how muted do you want the colors. It’s all in personal preference!
Vibrance…this is an enhancement of the saturation slider. How vibrant do you want the colors to be? This slider can go to crazy extremes if you’re not careful!

Warmth…this adjustment will affect the warmth or coolness of your image. Slide to the positive, your image will get a warm orange tone, slide to the negative, and your image will get a cooler blue tone.

Tint…this adjustment will add either a reddish/magenta tone to your image, or a greenish tone to your image.

Sharpness…this will not fix a blurry or fuzzy image. If you moved during the live view capture, your image will be blurry. There is no fixing a blurry image. If you stayed very still, your image will be somewhat sharp, and this will just help define the edges a bit more.

Definition…this will add a bit more contrast and some “dehazing” to your image, making it look that much clearer.

Noise Reduction…this applies more to poorly lit images, or images taken in the dark. This will help decrease the look of “digital noise” which can make an image look fuzzy, with grainy spots/speckles all over.

Vignette…this will add some darkness to the edges of your image, making the centre of the image appear a bit lighter, and drawing the viewers eye to the centre of the image (in this case, the beautiful dreamy waterfall!)

Filters…these can be fun to play around with. Basically auto settings, these are pre-made filters you can apply to your image to achieve all kinds of different looks!

Crop Tool…here you can straighten the image, angle the image, resize the image, flip it vertically, flip it horizontally, rotate it clockwise or counterclockwise

Crop Tool Preset Dimensions…here are some already pre-set dimensions you can use. From original crop, to freeform crop, square (great for Instagram), and all the different dimensions available

Here is my final edited image, all done with the editing tools on my iPhone! This image went from blah to beautiful colors and tones with just a few minor adjustements.
Hope you enjoyed this little how-to tutorial. Go out and experiment and have fun!!
Adrienne xo

Crystal Falls, Nova Scotia